I saw this pallet sign class in Februray and had to giggle when the only dates available just happened to be on 3 of the 8 nights I had already been scheduled to work that month. Oh, the irony!
I caught a short message on Facebook yesterday that there was still room in the class for last night. So I signed up. A quick text to a friend and I’d found someone willing to give it a try with me — even though she had no idea what I was talking about when I said it was a pallet sign class — and even after learning that it was a two week class and neither of us could do the second class. I can’t stress how important it is to have at least a couple friends who can “wing it” on impulse and at the last minute with you. It helps turn life from a scheduled event into an adventure!
Katie Homann is the smart, articulate and crafty genius behind the class. She brings an energy into the room that is fun, spirited and knowledgeable. I love being around people that love what they do. She has a community page on Facebook named Reflection with her projects and classes through RAPRD.org (Redmond’s Park and Rec).
I think she’s pretty amazing and I love what she creates out of scraps and leftovers. The class was AWESOME! She called earlier in the day to make sure she brought the right supplies for me to create exactly what I wanted that night. When I told her that my friend and I could only make it to the first class; she was cool with it, totally improvised and brought some extra stuff to send home with us so we could finish up our projects at home, even offering her own time and shop to us if we wanted it.
So, because I’ve had more than a few people messaging me about the pallet sign specifics, I thought I’d go over some of the details here – but I still think Katie’s class is the best choice for locals. She will even do private classes for groups of 5 or more for $40 per person. Her tips, insight and help is worth the cost of the class alone. She’s absolutely great — and knows her stuff!
The Basic Instructions:
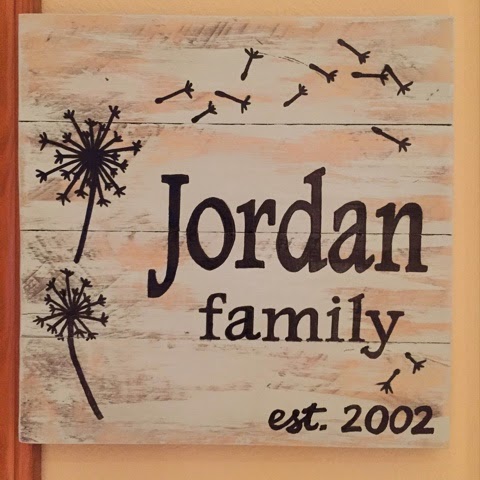
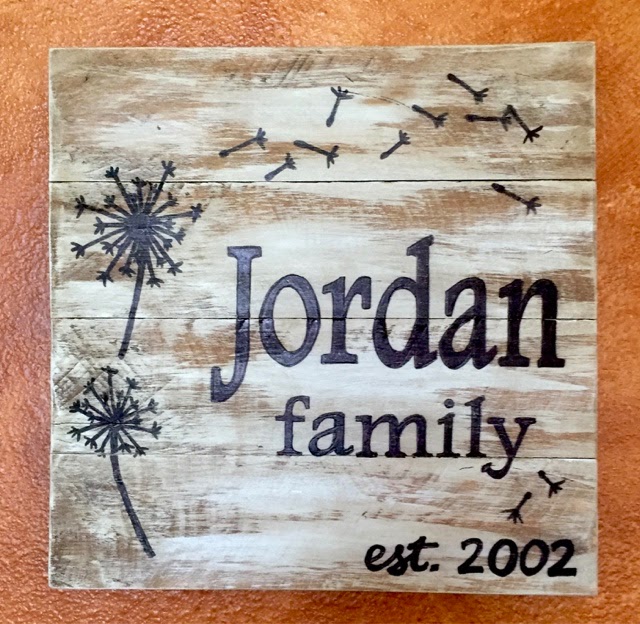
It’s a little difficult to show you the steps with a mostly finished product but I did my best to “recreate” the moment for you.
 |
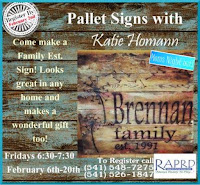
| I borrowed this pic from her page to show you how she arrives in class. |
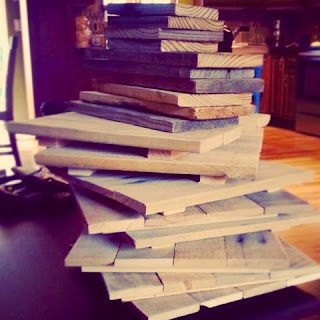
We started with premade sign boards built from ripped pallets. Katie went over all the specifics to teach which pallets to look for, how to tear them apart and how she assembles the individual signs.
(Heat treated pallets, a rip saw, a staple gun and a saw to cut everything to length and sander – though she said she’d created the same sign with just a hammer, nails and handsaw and sandpaper.)
Did I mention she’s amazing?

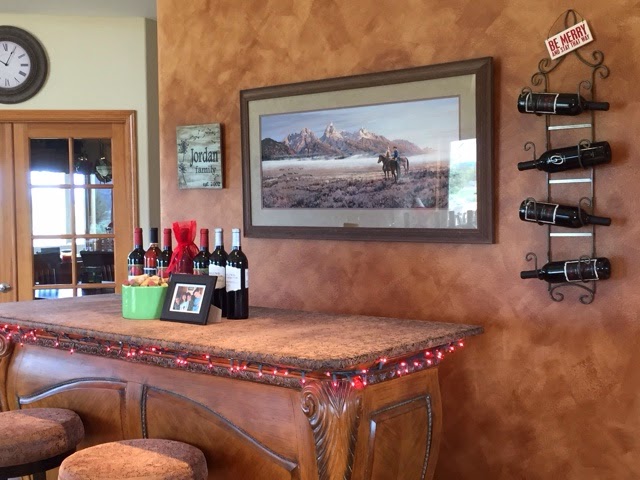
 I can’t get over the hanger. It’s made with a keyhole router bit and I can’t wait to get one of my own! Until then, any picture frame hanger would work, too.
 After choosing our premade sign boards, we chose the paint color for the back ground and learned some dry brushing techniques to maintain the rustic character of some of the wood. Paint samples, a paint brush and paper towel is all we needed.
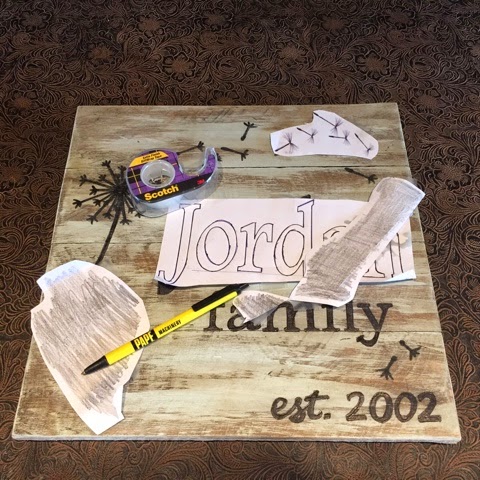
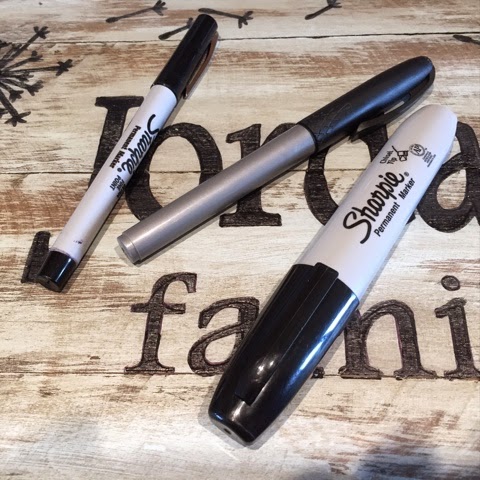
I was a little surprised that Katie prefers using a Sharpie to fill in the design. She has also used a tiny paintbrush, but after seeing several samples of each and knowing my patience level with painting straight lines, I was all about using the Sharpie. It gives the lettering a nice sheen and was pretty easy to use.